
 |
| the finished product, ready for delivery. I had to take it outside because it wouldn't fit in my photo booth |


 |
| Tailgate weathering |
 |
| Upper bay ramp extended |
 |
| I killed it, it's mine!!!! |
 |
| Running lights, upper bay, and lower bay showing the lights on |
 |
| close up of the lights on, these were taken in near total darkness |
 |
| coverd for protection |
 |
| sitting on my paint table for final details before weathering |
 |
| base color of Reapers Muddy Brown |

 |
| taping the bottom for the white accent lighting |
 |
| adding the pre highlights |
 |
| adding the gray highlights |
 |
| the bottom, taped, and streaked |

 |
| getting the greenstuff on |
 |
| rear shot of troop bay weapons bay and cockpit |
 |
| cockpit, weapons bay, troop bay and running lights all on. |
 |
| lights on in the dark |

 |
| holes for the pins for the wings |
 |
| switches for the lights |
 |
| battery storage in the lower bay |

 |
| lights for the tail, ceiling of the tank bay, and the weapons bay |
 |
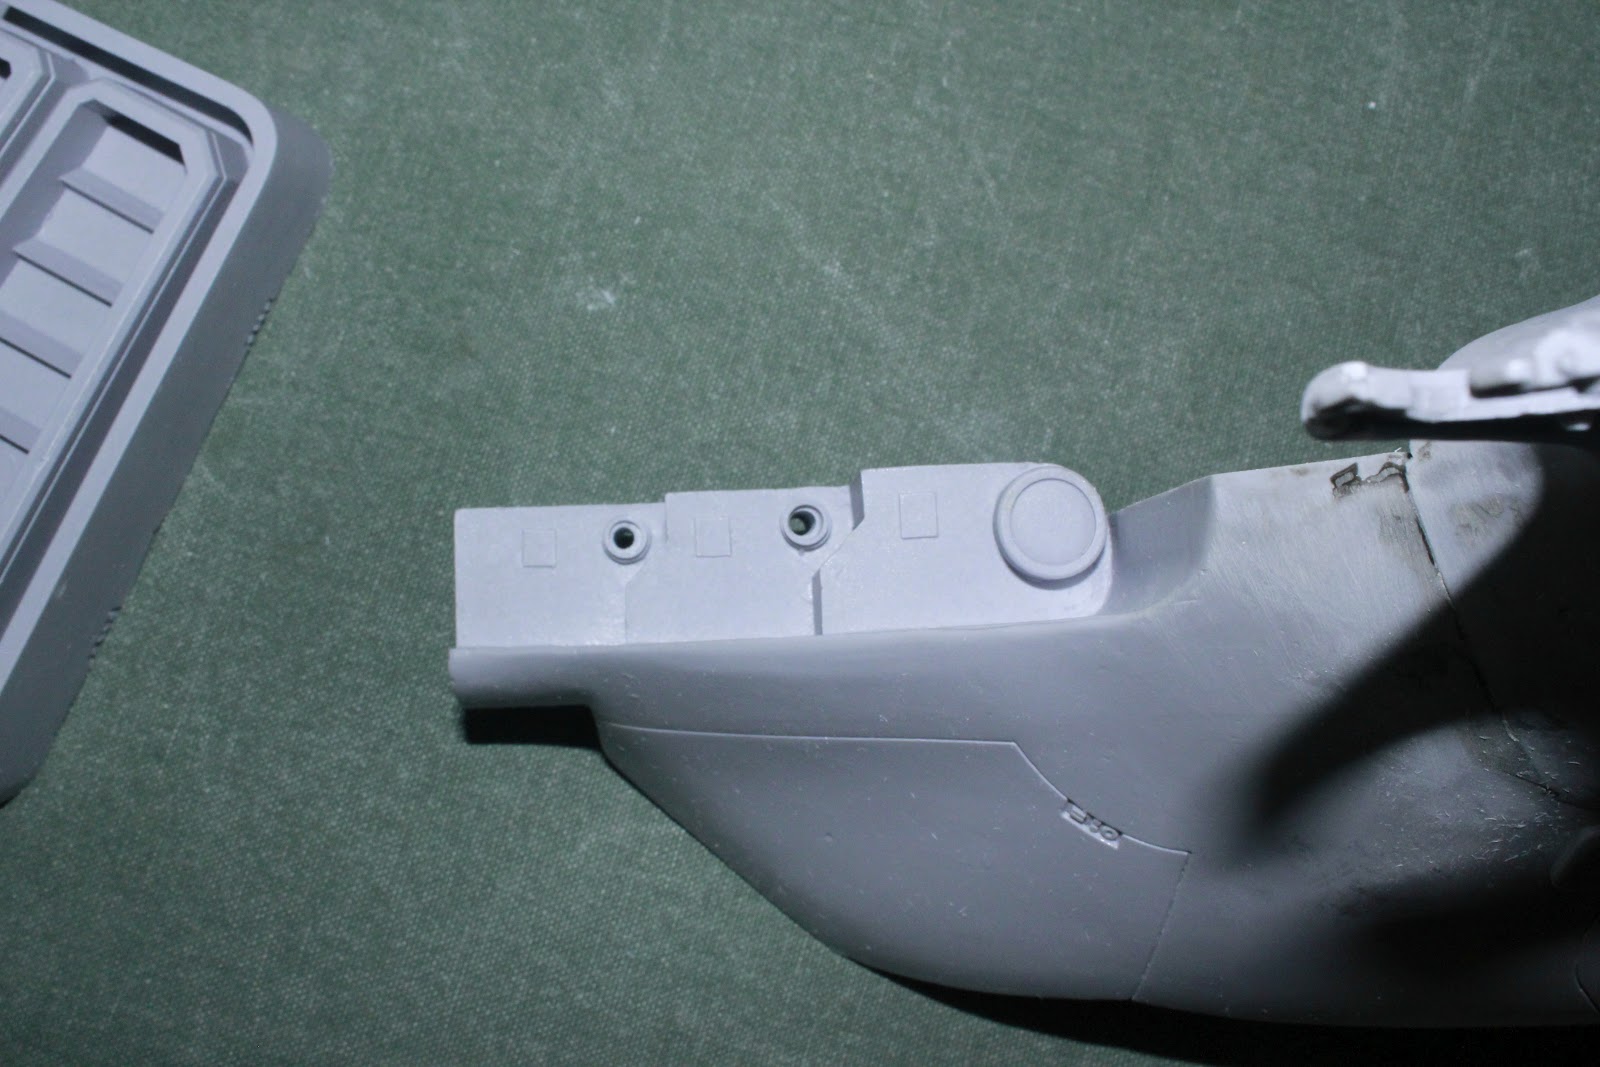
| a serious gap I have to fill due to warpage of the fuselage. |
 |
| this gap is 1/16" that I'm gonna fill with plasticard and JB Weld. more warpage due to the fuselage being pulled from the mold too soon |
 |
| and the gap that was between the fuselage and the cockpit, I foresee a lot of hand sanding on this... |
 |
| before adding the consoles |
 |
| Pilots out on the beach |
 |
| check out the cans on that one! |

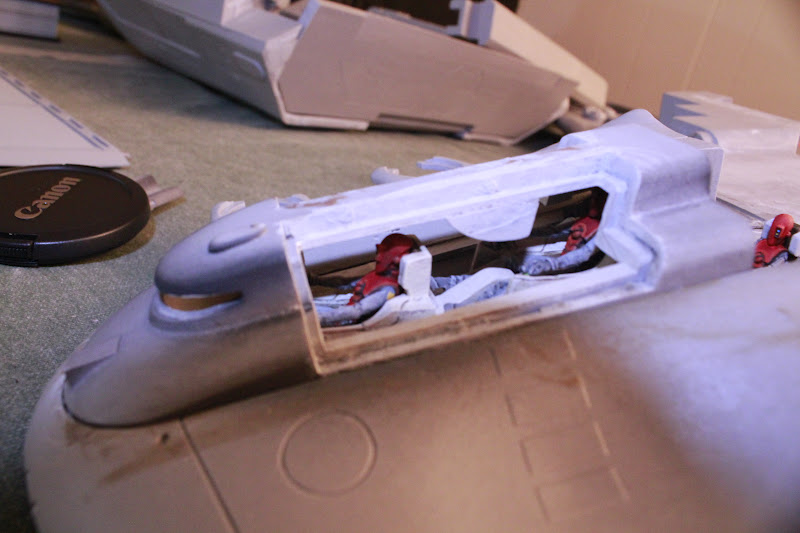 |
| pilots visible through the hatches |

 |
| Each console was painted differently to show different graphics |


 |
| Lan Party! Let's play Fire Warrior! |

 |
| DUDE! quite screen hacking! |
 |
| inside the cockpit canopy, can you translate what it says? |
 |
| Ethereal and his chair |
 |
| lighting the sides of the upper bay |
 |
| the Blacksun Filter fo the upper bay |
 |
| the other side being lit of the upper bay |
 |
| running wires so that they can make contact with the switches and batteries |
 |
| the ceiling of the lower bay, serves two purposes, First: to provide strength and structure to the upper bay. Second: to provide a platform for hiding the wires. |
 |
| running the wire for the troop bay lights, and plasticard to strengthen the fuselage as well as providing a ceiling to the lower bay |
 |
| troop bay light |
 |
| here are the rear facing running lights for the upper bay. I wish I coud do all six, but the model just won't allow that.... |
 |
| here I added a plate to the ceiling of the main bay so that the ramp for the upper bay will completely be enclosed, making it more stable. |

 |
| and they hold pretty good |
 |
| holes for the running lights |
 |
| more magnets, these should keep the hatches in place, that is until the Aircaste pilots need to eject.... |
 |
 |
| My Devilfish fits nicely int the tank bay, fully loaded with every option, including two underslung Seeker missiles. |
 |
| it fits in any of the four slots nicely.... |
 |
| very serious mold line removal |
 |
| sanders are a modelers best friend |
 |
| serious mold lines |
 |
| sanding to make it fit |
 |
| bent like crazy |
 |
| all better now |
 |
| fresh from the bath, showing the "gorilla glue" trails |
 |
| showing the gaps and poor fitting of the cockpit to the secondary fuselage |


 |
| big chunk of resin |


 |
| filling the gap |
 |
| starting the removal process |


 |
| removing the windscreen to be replaced with clear plastic |
 |
 |
| I don't know about this, this was my spot |
 |
| all parts in the bath. this thing was still dripping with mold release |
 |
| getting their first bath |
 |
| empty tubby |
 |
| fire warriors everywhere |
 |
| Okay I am calling this the "Tau Manta Project" Or "Building Number 50". I don't normally post WIP pics,but was asked by the customer to post as I did. Unfortunately, this beauty is number 8 in my customer queue. That being said it will get love and attention at least one hour per day until my other projects are finished and delivered. |
 |
| on the floor, accounting for the pieces |
 |
| clamping it all together |
 |
| filling the gaps in the wings. and then wetsanded to blend. I also used greenstuff and liquid greenstuff to make it all smooth |
 |
| get your engines on |
 |
| Dry fitting the pieces |
 |
| scary gap |
 |
| just an example of the work needed |

 |
| bad fitting |
 |
| inside the wepons housings, were very large gaps |
 |
| and this one |
 |
| fixed the gap |

 |
| it barely fits in the spray booth, there was much puckering at this point |
 |
| underside of the fuselage |
 |
| Wing drones awaiting their barrel refit. The ones that came with the model were either broken, or so bent that when I boiled water to bend them back place they snapped |
 |
| Ceiling of the lower bay, showing the bare metal because Farsights people don't have time to paint |
 |
| the lower tank bay, mask removed, and ready for the metal! |