Here I have broken apart the Cockpit section from the Weapons Operators section to repair the dents that were caused by FW removing the model too quickly from the mold. This also allows me to re-align the fit, as there was a ledge along the seem.
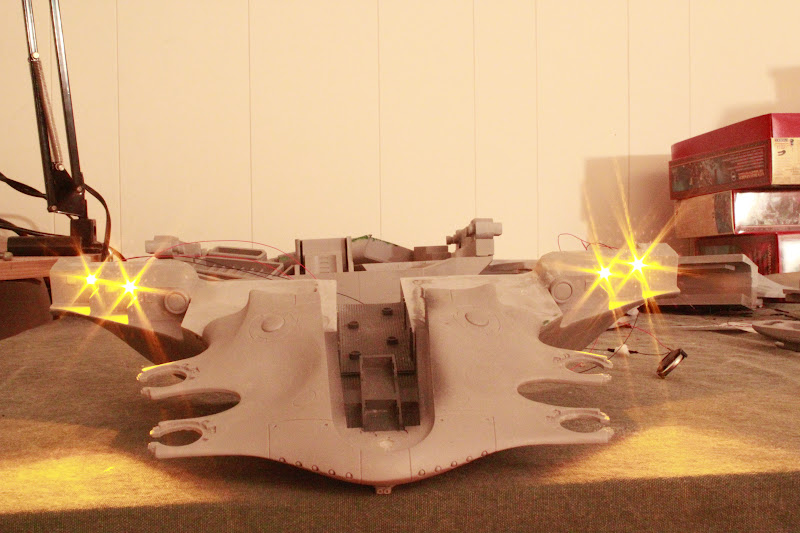
This shot showcases how very unclean the break from the mold is.
Here I've rejoined the two sections with JB weld epoxy(that stuff is awesome!!).
Here I've allowed it to dry, and sanded the excess off.
After putting JB weld kwik in the holes I've sanded the excess away. This allows additional holding power and eliminates part of the gap in the seam.
and a close-up of the repaired dent, I will have to re-scribe some of the panel lines, but I figure I,ll have to do that anyway as some of them are very shallow.